Unleash Your Creativity: A Step-by-Step Guide to Makeup Drawing Mastery
Are you ready to dive into the world of makeup drawing? Whether you're just starting out or looking to polish your skills, this guide will walk you through everything you need to know. From the basics of prepping your canvas to creating stunning eye looks and mastering bold styles, we've got you covered. Grab your brushes, and let’s get started on this creative journey!
Key Takeaways
- Start with a clean, moisturized face for the best makeup application.
- Learn to blend well for seamless transitions between colors.
- Experiment with different eye makeup techniques to find your style.
- Practice contouring and highlighting to enhance your features.
- Don't be afraid to try bold colors and looks—creativity is key!
Understanding Makeup Drawing Fundamentals
The Importance of a Good Base
Think of your face as a canvas. You wouldn't start painting on a dirty, uneven surface, right? Same goes for makeup! A good base is key to a flawless makeup drawing. It's all about prepping your skin so your makeup goes on smoothly and lasts longer. This means cleansing, moisturizing, and using a primer. A well-prepped base not only makes your makeup look better but also protects your skin. It's like building a strong foundation for a house – everything else relies on it.
Essential Tools for Makeup Drawing
Having the right tools can make a huge difference. You don't need to buy everything at once, but here are some basics to get you started. Think of these as your artist's palette and brushes. You can always add more as you get more comfortable with makeup application.
- Brush Set: A variety of brushes for foundation, eyeshadow, blush, and contour.
- Sponges: Beauty sponges are great for blending foundation and concealer.
- Eyelash Curler: This really opens up your eyes before you even apply mascara.
Investing in quality tools is worth it in the long run. They'll last longer, apply makeup more evenly, and make the whole process easier and more enjoyable.
Color Theory in Makeup Drawing
Color theory might sound intimidating, but it's actually super helpful for makeup. Understanding how colors work together can help you create amazing looks. It's not just about picking pretty colors; it's about using them strategically to enhance your features. For example, knowing which colors complement your eye color can make your eyes pop. Here's a simple breakdown:
- Complementary Colors: Colors opposite each other on the color wheel (e.g., blue and orange).
- Analogous Colors: Colors next to each other on the color wheel (e.g., blue, blue-green, green).
- Monochromatic Colors: Different shades of the same color.
Understanding these concepts can help you choose eyeshadows, blushes, and lipsticks that work well together and enhance your overall look.
Mastering Basic Techniques
Prepping Your Canvas
Okay, so before you even think about touching that foundation, you gotta prep your skin. Think of it like painting – you wouldn't just slap paint on a dirty wall, right? Same goes for your face. Start with a clean face. Wash it! Then, moisturize. Seriously, don't skip this step. Dry skin + makeup = not a good look. Finally, primer. Priming benefits are real. It creates a smooth base and helps your makeup last longer.
Applying Foundation and Concealer
Alright, now for the fun part (sort of). Foundation is all about finding the right shade. Test it on your jawline in natural light – not in the store's weird fluorescent lighting. Apply it with a brush, sponge, or even your fingers – whatever works best for you. Start with a thin layer and build up coverage where you need it. Concealer is your best friend for hiding blemishes and dark circles. Dab it on and blend, blend, blend! Don't go overboard, though – you want to look like you, just a slightly more flawless version.
Blending Techniques for a Flawless Finish
Blending is where the magic happens. Seriously, blending is key. If your makeup isn't blended, it's gonna look cakey and unnatural. Use a damp beauty sponge or a fluffy brush and blend everything together in circular motions. Pay extra attention to your hairline and jawline. You don't want any harsh lines. And remember, practice makes perfect! The more you blend, the better you'll get.
Blending is not just about making colors disappear into each other; it's about creating a seamless transition that enhances your natural features. It's about patience and persistence, gradually building up the color and blending it seamlessly into the surrounding areas. Different shades can be layered on each other to create a more comprehensive gradient effect, but make sure not to over-apply!
Exploring Eye Makeup Techniques
Eye makeup can really change your whole look. It's not just about slapping on some eyeshadow; it's about understanding how different techniques can enhance your eyes and complement your overall style. Let's get into it.
Eyeshadow Application Methods
Okay, so eyeshadow. There are a ton of ways to apply it, and it really depends on the look you're going for. The key is blending. Seriously, blend, blend, blend! Start with a good base, like an eyeshadow primer, to make the colors pop and last longer. For hooded eyes, focus on creating depth above the crease. For almond eyes, you can experiment with pretty much anything! Round eyes look great with a winged effect. Don't be afraid to play around with different brushes too – fluffy ones for blending, smaller ones for detail work. Understanding color theory is also important.
Eyeliner Styles for Definition
Eyeliner can be intimidating, but it's worth mastering. Whether you're into a subtle tightline, a classic wing, or something more graphic, eyeliner can really define your eyes. Gel liners are great for precision, pencil liners are good for smudging, and liquid liners are perfect for sharp lines. Practice makes perfect, so don't get discouraged if your wings aren't even at first. Try different eyeliner styles to see what works best for your eye shape.
Creating Stunning Eyebrows
Eyebrows frame your face, so don't neglect them! Whether you prefer a natural, fluffy brow or a more defined, sculpted look, there are tons of products to help you achieve your desired shape. Brow pencils are great for filling in sparse areas, brow gels help keep hairs in place, and brow powders can create a softer, more natural look. Remember to choose a shade that matches your natural brow color for the most realistic effect.
Getting your eyebrows right can make a huge difference. It's about finding the right balance and shape that complements your face. Don't overpluck, and always blend your brow products for a seamless finish.
Here's a quick guide to brow products:
| Product | Use |
|---|---|
| Brow Pencil | Filling in sparse areas |
| Brow Gel | Setting hairs in place |
| Brow Powder | Creating a soft, natural look |
Sculpting and Highlighting Your Features
Contouring Basics for Dimension
Okay, so contouring. It's not about changing your face, but more about enhancing what's already there. Think of it as playing with shadows. You're trying to create the illusion of depth, making certain areas recede while others pop. The key is to use a shade that's cooler than your skin tone – think grayish-brown, not orange.
Here's a basic guide:
- Cheekbones: Apply contour under your cheekbones, blending upwards towards your temples. Feel for the hollow beneath your cheekbone to find the right spot.
- Jawline: Blend a thin line along your jawline to define it. This can make your face look more sculpted.
- Forehead: If you have a larger forehead, you can apply contour along the hairline to make it appear smaller.
Remember to blend, blend, blend! Harsh lines are a no-no. Use a fluffy brush and work in circular motions to soften the edges. Start with a little product and build up the intensity as needed. It's easier to add more than to take away.
Highlighting Techniques for Glow
Highlighting is the opposite of contouring. It's about bringing light to the high points of your face, making them appear more prominent. Highlighters usually have a shimmer or sheen to them, which reflects light and creates a glow. For a luminous glow, try using highlighter techniques.
Here are the key areas to highlight:
- Cheekbones: Apply highlighter along the tops of your cheekbones, blending upwards towards your temples. This will make your cheekbones look higher and more defined.
- Brow Bone: A touch of highlighter just below your brow bone can lift your eyebrows and make your eyes look bigger.
- Bridge of Your Nose: A thin line of highlighter down the center of your nose can make it appear longer and more defined. (Skip this if you have a wider nose.)
- Cupid's Bow: A little dab of highlighter above your cupid's bow (the dip in the center of your upper lip) can make your lips look fuller.
Blush Application for a Natural Flush
Blush is all about adding a touch of color to your cheeks, making you look healthy and radiant. The right shade of blush can brighten your complexion and bring your whole look together. When applying blush for a natural flush, consider these points:
- Placement: Smile to find the apples of your cheeks (the roundest part when you smile). Apply blush to the apples and blend upwards and outwards towards your temples.
- Shade: Choose a blush shade that complements your skin tone. Fair skin tones usually look good in light pinks and peaches, while medium skin tones can handle brighter pinks and corals. Dark skin tones can rock deeper reds, oranges, and berries.
- Application: Use a fluffy brush and apply blush in light layers. It's always better to start with less and build up the color as needed. Tap off any excess product from your brush before applying to avoid a heavy application.
| Feature | Contouring | Highlighting | Blush |
|---|---|---|---|
| Purpose | Create depth and dimension | Bring light to high points | Add a flush of color |
| Shade | Cooler than skin tone | Lighter and shimmery than skin tone | Complements skin tone |
| Key Areas | Cheekbones, jawline, forehead | Cheekbones, brow bone, nose, cupid's bow | Apples of cheeks |
| Technique | Blend, blend, blend! | Light application, focus on high points | Light layers, blend upwards and outwards |
Creating Bold and Dramatic Looks
Time to crank things up a notch! We're moving beyond the everyday and diving headfirst into makeup that makes a statement. Think vibrant colors, daring techniques, and looks that command attention. It's all about pushing boundaries and expressing yourself without holding back. Let's get started!
Smokey Eye Techniques
The smokey eye is a classic for a reason, but it doesn't have to be boring. Forget just black and brown – try deep blues, purples, or even greens for a modern twist. The key is blending, blending, blending! Start with a lighter shade all over the lid, then build up the darker color in the crease and outer corner. Smudge it out with a fluffy brush for that signature smokey effect. Don't forget to add a touch of shimmer on the center of the lid to catch the light. You can find inspiration for bold makeup looks online.
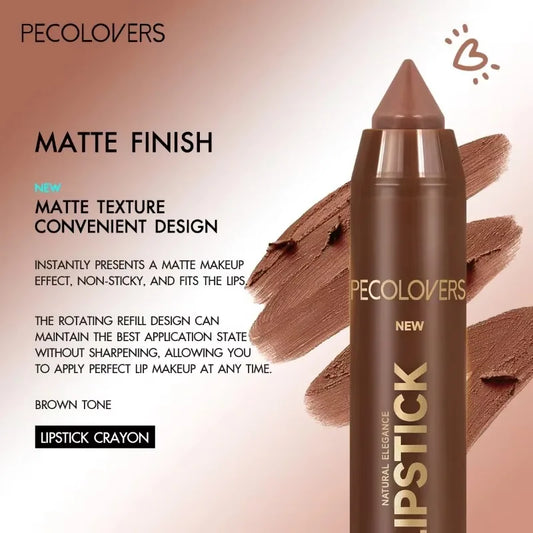
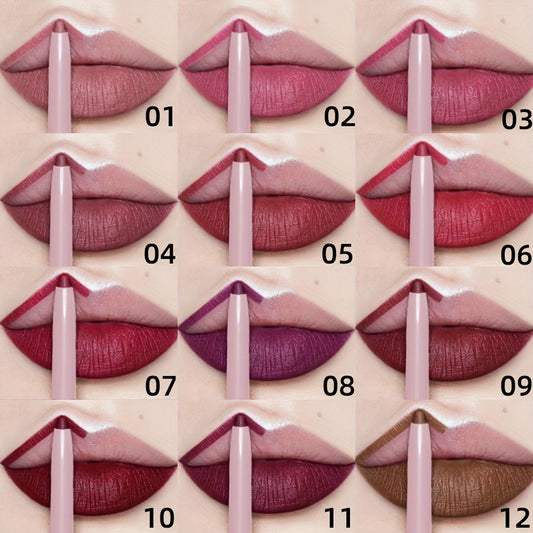
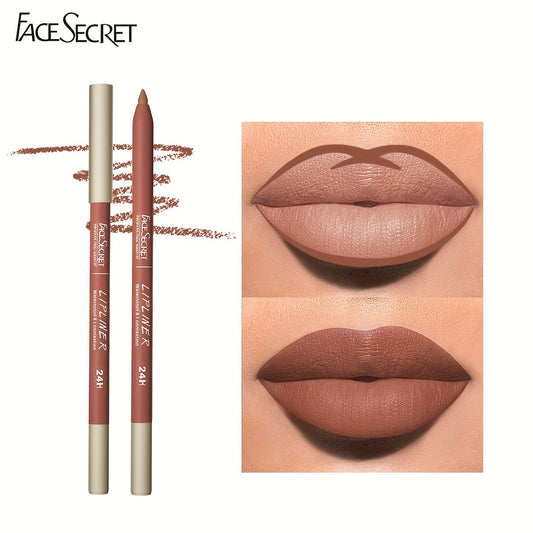
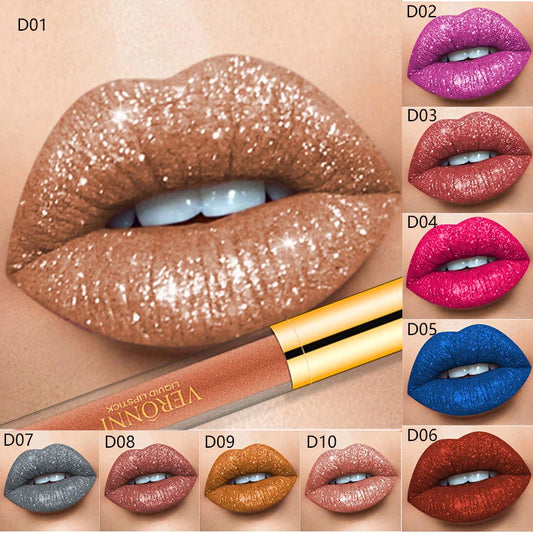
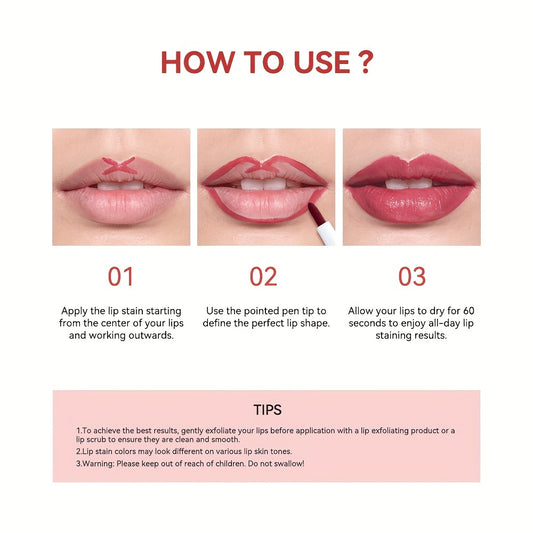
Statement Lips for Impact
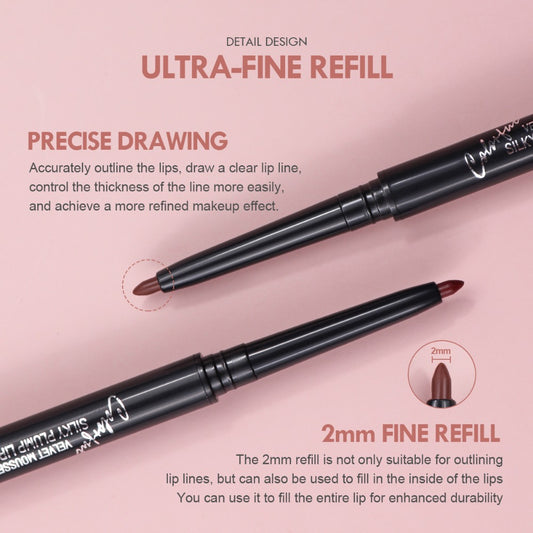
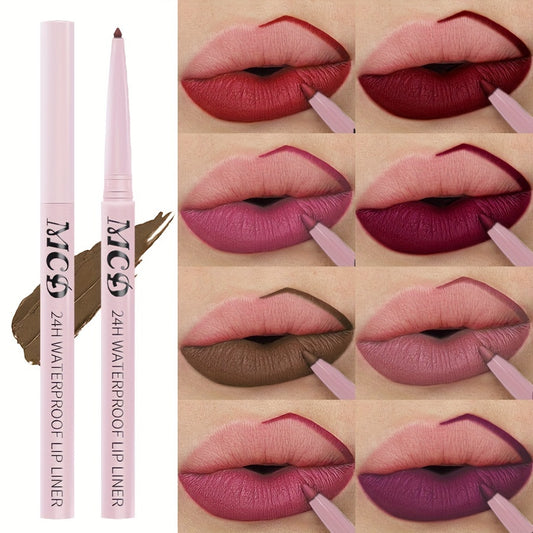
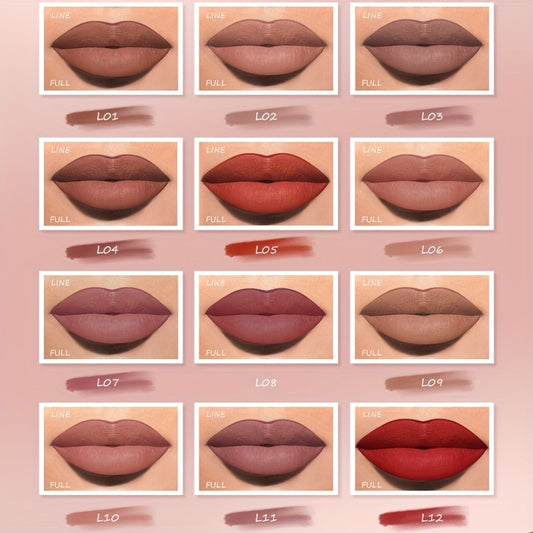
A bold lip can instantly transform your entire look. Whether it's a classic red, a deep berry, or a daring purple, the right shade can make you feel powerful and confident. Make sure your lips are prepped and smooth before applying any color. Exfoliate and moisturize to avoid any cracking or flaking. Use a lip liner to define the shape and prevent feathering, then apply your lipstick with a brush for precision. Blot with a tissue and reapply for long-lasting color.
Layering Colors for Depth
Don't be afraid to experiment with layering different colors and textures to create depth and dimension. Try layering a shimmer eyeshadow over a matte base, or adding a touch of glitter to your inner corner. You can also use different shades of the same color to create an ombre effect. The possibilities are endless! Just remember to blend well and have fun with it. Here's a quick guide to blend shades:
- Start with a light base color.
- Apply a darker shade to the crease.
- Blend the two colors together seamlessly.
Bold makeup is about more than just following trends; it's about using your face a canvas for artistic exploration. It's about transforming yourself and showcasing personality. Don't be afraid to experiment and find what works best for you. After all, makeup is supposed to be fun!
Advanced Makeup Drawing Techniques
Ready to kick things up a notch? We're moving beyond the basics and diving into some seriously cool techniques that will transform your makeup game. It's all about pushing boundaries and experimenting to find your unique style. Let's get started!
Understanding Color Theory
Color theory isn't just for painters; it's a game-changer for makeup artists too. Knowing how colors interact can help you enhance your features and create stunning looks. Think about complementary colors – they sit opposite each other on the color wheel and create contrast. For example, if you have green eyes, using a reddish-toned eyeshadow can really make them pop. Understanding undertones (warm, cool, neutral) is also key to choosing the right foundation, concealer, and even lipstick shades. It's like unlocking a secret code to flawless makeup.
Precision in Makeup Application
This is where your steady hand and attention to detail come into play. We're talking about creating crisp lines, perfectly blended eyeshadow, and symmetrical brows. It's not about being perfect, but about striving for clean, defined results. Here are some tips:
- Use fine-tipped brushes for detailed work, like eyeliner or lip liner.
- Practice your blending techniques to avoid harsh lines.
- Take your time – rushing leads to mistakes.
Precision isn't just about skill; it's about patience and practice. The more you work on refining your technique, the better you'll become at creating flawless makeup looks.
Creating Unique Textures and Effects
Time to get creative! This is where you can really let your personality shine through. Experiment with different textures like glitter, shimmer, and matte to add dimension and interest to your makeup. Think about using unconventional products or techniques to create unique effects. For example, you could use a damp brush to intensify the color of your eyeshadow, or try layering different textures to create a multi-dimensional look. Don't be afraid to step outside the box and try something new. You can use eyeshadow primer to create a smooth canvas and enhance the color payoff of your eyeshadows.
Here's a table showing some texture combinations and their effects:
| Texture 1 | Texture 2 | Effect |
|---|---|---|
| Matte | Shimmer | Balanced, sophisticated |
| Glitter | Matte | Playful, eye-catching |
| Cream | Powder | Long-lasting, dimensional |
Remember, makeup is an art form, so have fun and express yourself!
Putting It All Together
Okay, so you've learned all these techniques, right? Now it's time to actually use them! It's like learning to cook – knowing the recipes is one thing, but making a meal is another. Let's talk about how to bring everything together and create some awesome looks.
Cohesive Makeup Looks for Any Occasion
The key to a great makeup look is cohesion. You don't want your eyes screaming one thing while your lips are shouting something completely different. Think about the overall vibe you're going for. Is it a natural, everyday look? Or are you aiming for something more dramatic for a night out?
- Color Harmony: Stick to a color palette that complements your skin tone and eye color. If you're using bold eyeshadow, maybe tone down the lip color. If you're rocking a bright lip, keep the eyes more neutral.
- Balance: If you're doing a heavy eye look, keep the rest of your face relatively simple. If you're going for a bold lip, keep the eye makeup minimal. It's all about finding that sweet spot.
- Occasion: Consider where you're going. A smoky eye might be perfect for a party, but maybe not the best choice for a job interview.
Think of your face as a canvas. You're not just slapping on colors; you're creating a work of art. Every element should work together to create a unified and polished look.
Transitioning from Day to Night Looks
One of the coolest things about makeup is how easily you can transform your look. Going from a daytime meeting to evening cocktails? No problem! Here's how to transition your makeup:
- Add Intensity: Start with your daytime makeup. Then, amp it up for the evening. Add a darker eyeshadow to the crease, a bolder eyeliner, or a deeper lip color.
- Highlight and Contour: Evening lighting is different, so you can afford to be a little more dramatic with your highlight and contour. Add a touch more highlighter to your cheekbones and a bit more contour to your cheekbones contour to your jawline.
- Touch-Ups: Don't forget to touch up your makeup before heading out. Blot away any excess oil, reapply lipstick, and make sure everything is still looking fresh.
Personalizing Your Makeup Style
Ultimately, makeup is about expressing yourself. Don't be afraid to experiment and find what works for you. Here's how to develop your own unique style:
- Experiment: Try different colors, techniques, and products. See what you like and what makes you feel confident.
- Inspiration: Look to others for inspiration, but don't be afraid to put your own spin on things. Maybe you love a certain celebrity's makeup, but you can adapt it to suit your own features and preferences.
- Confidence: The most important thing is to wear your makeup with confidence. If you feel good, you'll look good. Rock that personal makeup style!
| Element | Day Look | Night Look |
|---|---|---|
| Eyeshadow | Neutral, matte | Darker, shimmer |
| Eyeliner | Thin, subtle | Thicker, winged |
| Lipstick | Nude, balm | Bold color, gloss |
| Highlight | Subtle | More intense |
| Contour | Natural | More defined |
Now that you have all the pieces, it’s time to put them together! Don’t wait any longer—visit our website to see how you can make the most of what you’ve learned. Let’s get started on your journey today!
Wrap-Up: Your Makeup Journey Awaits
So there you have it! You’ve got the basics and some advanced tricks to help you create stunning makeup looks. Remember, practice makes perfect. Don’t be afraid to experiment and try new things. Each time you sit down with your makeup, you’re getting better. It’s all about having fun and expressing yourself. Whether you’re going for a bold statement or a subtle glow, let your creativity shine through. Keep those brushes moving, and enjoy the process. Your makeup journey is just beginning, so get out there and show the world your unique style!
Frequently Asked Questions
What is makeup drawing?
Makeup drawing is the art of applying makeup to create different looks on the face. It involves using various products and techniques to enhance features.
Do I need special tools for makeup drawing?
Yes, having the right tools like brushes, sponges, and makeup products can help you achieve better results in your makeup drawing.
How do I choose the right foundation?
Pick a foundation that matches your skin tone and type. Test it on your jawline to see if it blends well with your skin.
What are some basic techniques I should learn first?
Start with prepping your skin, applying foundation, and blending. These are the foundation skills for any makeup look.
How can I create a bold eye look?
To create a bold eye look, use vibrant eyeshadows, eyeliner, and mascara. Start with eyes first to avoid smudging your base makeup.
What should I do if I make a mistake while applying makeup?
If you make a mistake, don’t worry! You can use makeup remover or a cotton swab to fix it. Practice makes perfect!