Mastering Makeup Drawing Easy: Step-by-Step Techniques for Beginners
Makeup drawing easy is all about breaking down the basics so that anyone can pick up a brush and start creating beautiful looks. Whether you're just starting out or looking to refine your skills, this guide will walk you through simple techniques and tips to boost your confidence. From understanding your tools to mastering the application, you’ll find everything you need to know to make makeup drawing a fun and enjoyable process.
Key Takeaways
- Start with the basics: Understand essential techniques and tools for makeup drawing.
- Practice makes perfect: Regularly apply what you've learned to improve your skills.
- Don't skip the primer: It sets the stage for a smooth makeup application.
- Experiment with colors: Use blush, bronzer, and highlighter to enhance your features.
- Join communities: Connect with other makeup enthusiasts for tips and feedback.
Understanding Makeup Drawing Easy Techniques

The Basics of Makeup Drawing
Okay, so you want to get into makeup drawing? Awesome! It's not as scary as it looks, I promise. Think of it like regular drawing, but your canvas is a face, and your tools are brushes and palettes. The first thing to understand is facial anatomy. Knowing where the bones and muscles are will help you place your makeup correctly. We're not talking about medical school level, just a basic understanding. Also, pay attention to different skin tones and types. What works on one person might not work on another.
Essential Tools for Beginners
Don't go broke buying every single makeup product out there. Start with the basics and build from there. Here's what I recommend:
- A good set of brushes: You don't need a million, but a few quality ones are key. Look for a foundation brush, concealer brush, eyeshadow brushes (at least two sizes), a blush brush, and a powder brush.
- A basic eyeshadow palette: Neutral colors are your friend. They're versatile and easy to blend.
- Eyeliner: Pencil, gel, or liquid – pick what you're most comfortable with. Pencil is usually the easiest for beginners.
- Mascara: A must-have for defining those lashes.
- Foundation and concealer: Find shades that match your skin tone. Contour your face to add dimension.
- Blush: A little color goes a long way.
It's better to invest in a few good quality products than a ton of cheap ones. They'll last longer and be easier to work with. Plus, good brushes make a HUGE difference in how your makeup applies.
Common Mistakes to Avoid
We all make mistakes, especially when we're learning. Here are a few common ones to watch out for:
- Using the wrong foundation shade: This is a big one! Always test foundation in natural light before buying it.
- Over-blending eyeshadow: Blending is important, but too much can make your colors muddy. Use light layers and build up the intensity.
- Applying too much product: It's always easier to add more than to take away. Start with a little and build as needed. This is especially true for blush and bronzer. You can always apply bronzer later.
- Not cleaning your brushes: Dirty brushes can harbor bacteria and lead to breakouts. Clean them regularly! I try to clean mine at least once a week. It's also important to choose the right lip color for your skin tone.
- Skipping primer: Primer helps your makeup last longer and creates a smooth canvas. Don't skip it!
Creating a Flawless Base
Creating a good base is super important for any makeup look. It's like prepping a canvas before you start painting. If your base isn't right, the rest of your makeup might not look as good. Let's break down how to get that perfect, smooth base.
Choosing the Right Foundation
Picking the right foundation can feel like a mission, but it doesn't have to be! The key is understanding your skin type and what kind of coverage you want. Do you have oily skin, dry skin, or something in between? Are you looking for light, medium, or full coverage? Liquid, cream, and powder foundations all have different finishes and work best for different skin types. For example, if you have oily skin, a matte powder foundation might be a good choice. If you have dry skin, a hydrating liquid foundation could be better. Don't be afraid to try out samples before committing to a full bottle. Also, make sure the shade matches your skin tone!
Applying Concealer Effectively
Concealer is your best friend for hiding dark circles, blemishes, and any other imperfections you want to cover up. The trick is to use it strategically. For under-eye circles, try drawing two inverted triangles under your eyes and blending the edges. This not only conceals but also brightens up your face. For blemishes, dab the concealer on gently – don't rub! Dabbing helps to keep the product in place and provides better coverage. Remember, less is more. You can always add more concealer if you need it, but it's harder to take it away if you apply too much at once. Concealer is meant to provide under-eye brightness or additional coverage over select areas.
Setting Your Makeup for Longevity
Setting your makeup is what makes it last all day. Think of it as the final step that locks everything in place. Use a setting powder and a fluffy brush to gently press the powder into your skin, focusing on areas that tend to get oily, like your T-zone (forehead, nose, and chin). You can also use a setting spray for an extra layer of protection. Setting spray not only helps your makeup last longer but also gives your skin a nice, dewy finish. Some people even like to "bake" their makeup by applying a thick layer of setting powder and letting it sit for a few minutes before dusting it off. This can give you an airbrushed look, but it's not necessary for everyday makeup. Primers create an even canvas for your makeup application.
Getting a flawless base takes practice, so don't get discouraged if you don't get it right away. Experiment with different products and techniques until you find what works best for you. And remember, makeup is supposed to be fun, so enjoy the process!
Mastering Eye Makeup Techniques
Eye makeup can seem tricky, but with a little practice, you can totally nail it. It's all about finding what works for your eye shape and personal style. Don't be afraid to experiment with different colors and techniques to see what you like best. I remember when I first started, my eyeshadow looked like a hot mess, but now I can do a pretty decent smoky eye. So, keep at it!
Selecting the Right Eyeshadow
Choosing eyeshadow can be overwhelming with all the colors and finishes out there. Here's a simple breakdown:
- Neutrals: Great for everyday looks. Think browns, beiges, and taupes.
- Shimmers: Add a touch of sparkle for evenings or special occasions. Use a light hand!
- Mattes: Perfect for creating depth and definition. They're also good for mature skin.
- Pigmentation: Check how much color the eyeshadow gives off. Some are sheer, others are super intense.
Consider your skin tone too. Warmer tones look great with golds and bronzes, while cooler tones shine with silvers and purples. Don't be afraid to mix and match! You can find a makeup guide online to help you choose the right colors.
Eyeliner Application Tips
Eyeliner can be intimidating, but it's a game-changer for defining your eyes. Here are some tips:
- Start with a pencil: It's more forgiving than liquid liner.
- Use short strokes: Instead of one long line, create small dashes and connect them.
- Tightlining: Apply liner to the upper waterline to make your lashes look fuller.
- Winged liner: Practice makes perfect! Use tape as a guide if you're struggling.
"As a beginner, I would use a creamy, non-waterproof pencil closest to the lashes and start slowly until you become more comfortable applying eyeliner or adding wings or feline flicks,” says Sesnek. Keep Q-tips close by for fuss-free cleanup."
Mascara for Maximum Impact
Mascara is the finishing touch that makes your eyes pop. Here's how to get the most out of it:
- Choose the right formula: Volumizing, lengthening, or waterproof – pick what suits your needs.
- Wiggle the wand: At the base of your lashes, wiggle the wand back and forth to coat every lash.
- Apply multiple coats: But don't let it dry completely between coats to avoid clumps.
- Use a lash comb: If you do get clumps, a lash comb can help separate your lashes. You can even try a smokey eye for a night out.
Always remove your mascara before bed to keep your lashes healthy!
Enhancing Your Features with Color
Blush Application Techniques
Okay, so blush. It's not just about slapping some pink on your cheeks. Think of it as bringing life back to your face. The right shade and placement can make a huge difference. Cream blushes are great for a natural, dewy look, while powder blushes are easier to build up and blend.
- Start with a small amount of product on your brush.
- Smile to find the apples of your cheeks.
- Blend upwards towards your temples.
I always tell my friends to start light. You can always add more, but it's a pain to take away. Plus, different skin tones need different shades. What looks amazing on your friend might not work for you, and that's totally fine!
Using Bronzer for Dimension
Bronzer can seem intimidating, but it's actually pretty simple. The key is to use it to add warmth and dimension, not to make your face look orange. Choose a shade that's only one or two shades darker than your natural skin tone. Matte bronzers are usually easier to work with, especially if you're just starting out. You can apply bronzer to the areas where the sun would naturally hit your face.
- Along your hairline
- Under your cheekbones
- Along your jawline
Highlighting for a Radiant Glow
Highlighter is all about catching the light and creating a glowy, healthy look. Powder highlighters are the most common, but cream and liquid highlighters can also work well, especially if you want a more subtle effect. Apply it to the high points of your face, like your cheekbones, brow bone, and the bridge of your nose. Don't go overboard – a little goes a long way! You can find your favorite highlighters in many forms.
Here's a quick guide:
| Area | Product Type | Effect |
|---|---|---|
| Cheekbones | Powder | Defined, sculpted |
| Brow Bone | Cream | Lifted, brightened |
| Bridge of Nose | Liquid | Slimmer, more defined |
Perfecting Lip Makeup
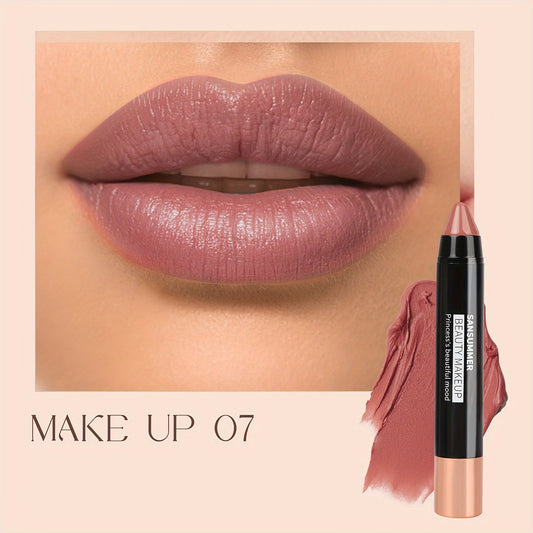
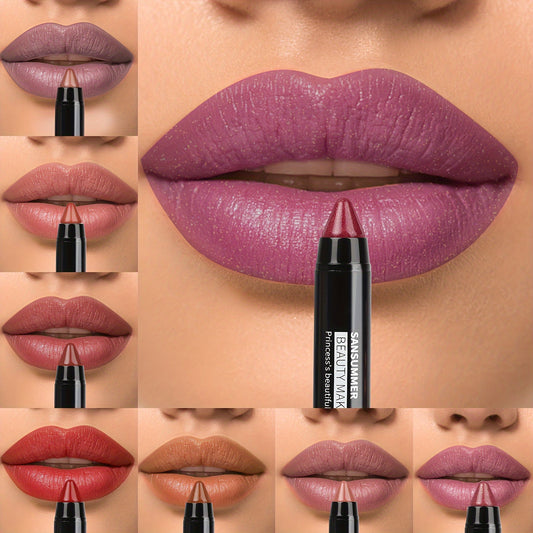
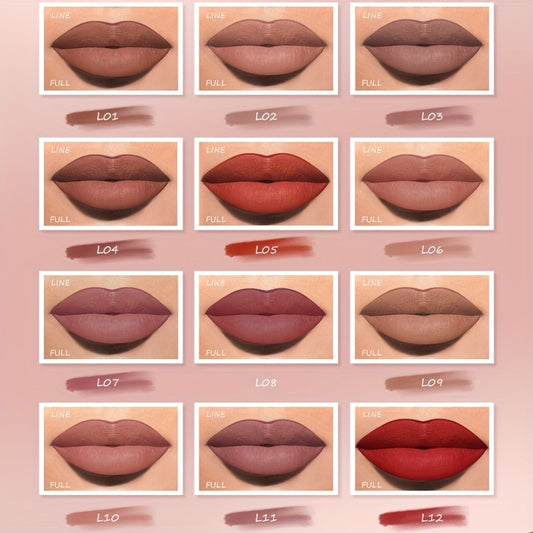
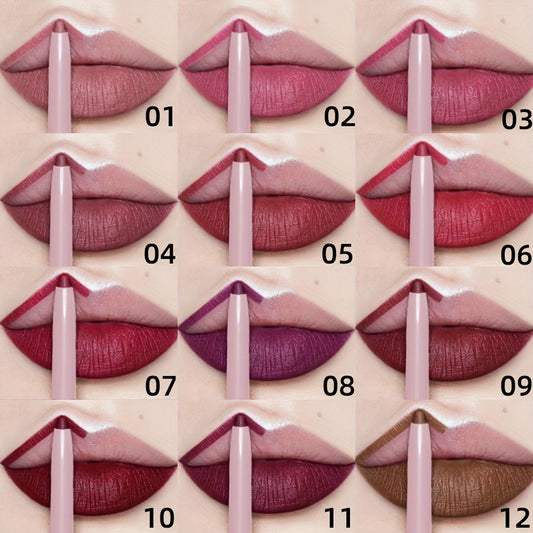
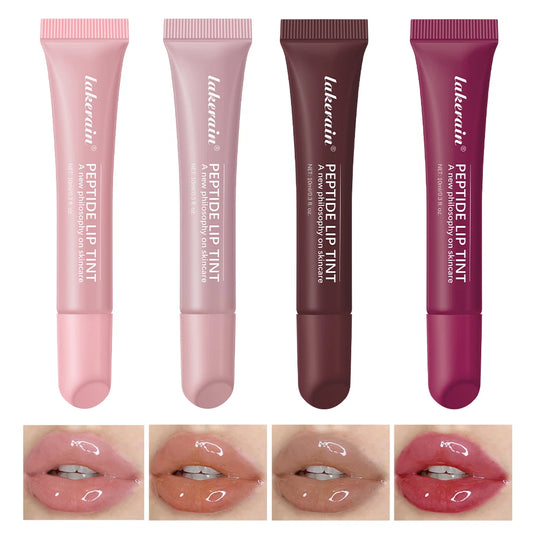
Choosing the Right Lip Color
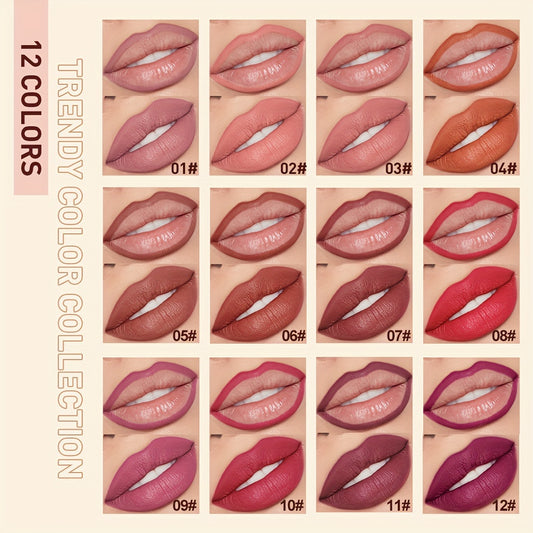
Okay, so picking a lip color can feel like a big deal, right? It's not just about grabbing the prettiest tube. Think about your skin tone first. If you're fair, lighter shades like nudes, light pinks, and peaches will probably look amazing. Medium skin tones can rock a wider range, including mauves, berries, and even some brighter pinks. Deeper skin tones? Girl, go bold! Deep reds, plums, and even chocolate browns will look stunning. Also, consider the occasion. A bright red might be perfect for a night out, but maybe a subtle nude is better for work. Don't be afraid to experiment!
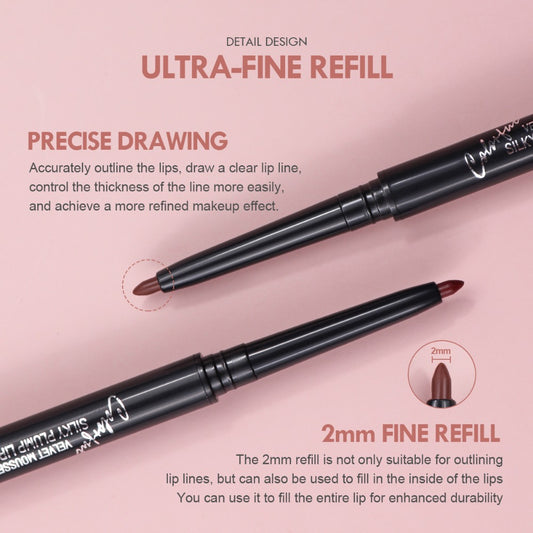
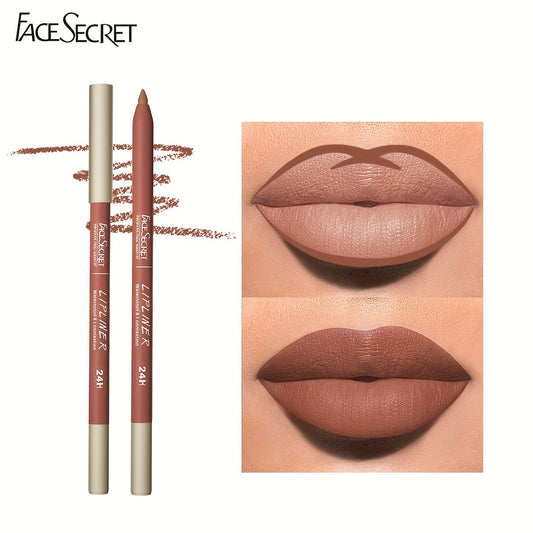
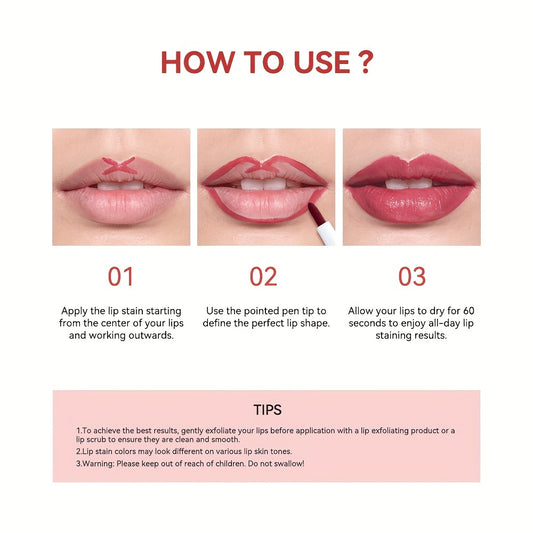
Application Techniques for Beginners
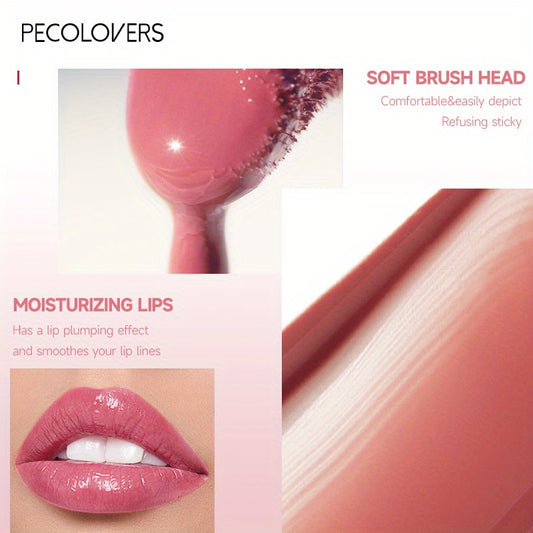
Alright, let's talk application. The key is to start with a smooth base. Exfoliate your lips first to get rid of any dead skin. Then, a little lip balm can work wonders. Next, consider using a lip liner. It helps define your lips and prevents your lipstick from bleeding. If you want your lips to look fuller, slightly overline them with the liner. Now, for the lipstick itself, you can apply it straight from the tube, but for more precision, use a lip brush. Blot your lips with a tissue after the first coat, then apply a second coat for longer wear.
- Exfoliate lips
- Apply lip balm
- Use lip liner
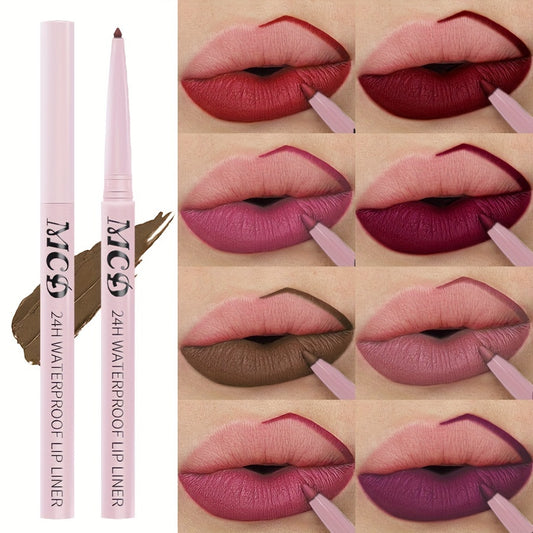
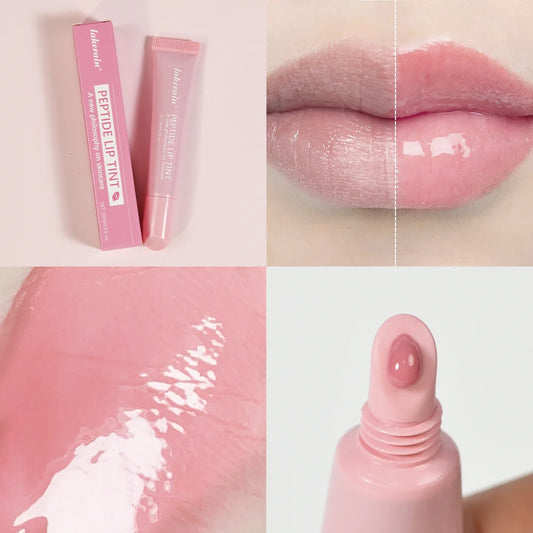
Long-Lasting Lip Products
Want your lip color to last all day? Here's the secret: layering. Start with a lip stain as a base. Once that's dry, apply your lipstick. After blotting, dust a little translucent powder over your lips through a tissue. This helps set the color. Then, apply another coat of lipstick. Look for long-wearing formulas, like matte lipsticks or liquid lipsticks. And avoid licking your lips! It might seem obvious, but it's a major culprit for fading color. Also, keep a lip primer handy for touch-ups throughout the day.
Finding the right long-lasting lip product can be a game changer. It's all about experimenting with different formulas and techniques to see what works best for you. Don't be afraid to try new things and find your perfect combination!
Exploring Advanced Makeup Drawing Techniques
Okay, so you've got the basics down. Now it's time to really play around and see what you can do. This is where makeup stops being just a routine and starts becoming a form of art. Don't be scared to try new things – that's how you find your own style!
Contouring Basics for Beginners
Contouring can seem intimidating, but it's actually pretty simple once you get the hang of it. The key is to use a shade that's only a few shades darker than your skin tone and blend, blend, blend! Think about where shadows naturally fall on your face – under your cheekbones, along your jawline, and at your temples. That's where you want to apply your contour. A good contour tutorial can be a game changer.
Creating Smoky Eyes
A smoky eye is a classic look that can be adapted for any occasion. Start with a neutral base shadow, then apply a darker shade to your lid and crease. Blend, blend, blend! Add a touch of shimmer to the center of your lid to make your eyes pop. Don't forget to smudge some of the darker shadow along your lower lash line for a truly smoky effect. Here are some tips:
- Use a blending brush to soften the edges.
- Start with a little product and build up the intensity.
- Don't be afraid to experiment with different colors.
Experimenting with Bold Looks
This is where you can really let your creativity shine. Try using bright colors, graphic liners, or even adding glitter. Don't be afraid to step outside of your comfort zone and try something new. It's just makeup – you can always wash it off! Consider these ideas:
- Use colorful eyeliner instead of black or brown.
- Try a bold lip color like red or purple.
- Add some glitter to your eyeshadow or highlighter.
Remember, makeup is all about having fun and expressing yourself. Don't be afraid to experiment and find what works best for you. The most important thing is to feel confident and beautiful in your own skin.
Tips for Practicing Makeup Drawing Easy
Daily Practice Routines
Okay, so you wanna get good at makeup drawing? It's all about practice, practice, practice! I know, it sounds boring, but trust me, it works. Start with a simple routine. Maybe 15-20 minutes each day. Focus on one specific skill. Like, one day you're just doing eyebrows, another day it's all about eyeliner application. Don't try to do everything at once, or you'll get overwhelmed. Consistency is key here. Even if you only have a few minutes, do something. It's better than nothing!
- Set a specific time each day for practice.
- Focus on one technique per session.
- Keep it short and sweet to avoid burnout.
Using Online Tutorials
YouTube is your friend! Seriously, there are tons of amazing makeup artists out there sharing their secrets. Find a few channels you like and follow along. Don't just watch, though. Actually, do the looks! Pause the video, try it yourself, and then compare. It's a great way to learn new techniques and see how different products work. Plus, you can always rewind and watch again if you miss something. I've learned so much from online tutorials, and I'm sure you will too. Just be sure to check out beauty trends from reputable sources.
- Find reputable makeup artists on YouTube.
- Follow along with tutorials step-by-step.
- Pause and practice each technique.
Joining Makeup Communities for Feedback
One of the best ways to improve is to get feedback from other people. Join some online makeup communities, like on Reddit or Facebook. Share your drawings and ask for constructive criticism. It can be scary to put your work out there, but it's worth it. Other artists can point out things you might not notice yourself, and they can also offer encouragement and support. Plus, it's a great way to connect with other people who are passionate about makeup. Don't be afraid to ask questions and learn from others. Remember, everyone starts somewhere! Getting feedback is invaluable for growth.
It's important to remember that everyone's style is different. Don't take criticism too personally. Use it as an opportunity to learn and grow, but always stay true to your own artistic vision.
If you want to get better at drawing makeup, practice is key! Start with simple shapes and colors. Use a mirror to see how different styles look on your face. Don’t forget to have fun and try new things! For more tips and tricks, visit our website and take your makeup drawing skills to the next level!
Wrapping It Up
So there you have it! With these simple steps, you can start your makeup journey without feeling overwhelmed. Remember, practice makes perfect. Don't stress if things don't turn out flawless right away. Just keep experimenting and having fun with it. Makeup is all about expressing yourself, so let your creativity shine. Whether you're going for a natural look or something bold, take your time and enjoy the process. You've got this, and soon enough, you'll be mastering those techniques like a pro!
Frequently Asked Questions
What are the basic steps to start with makeup drawing?
To begin with makeup drawing, start by learning the basics like how to apply foundation, concealer, and setting powder. Practice these steps until you feel comfortable.
What tools do I need for makeup drawing?
Essential tools include brushes, sponges, a good foundation, concealer, eyeshadow, eyeliner, mascara, blush, bronzer, and lipstick.
How can I choose the right foundation?
Pick a foundation that matches your skin type and tone. Test a small amount on your jawline to find the best match.
What techniques should I use for eye makeup?
Start with applying eyeshadow, then use eyeliner to define your eyes, and finish with mascara to make your lashes pop.
How do I make my lip makeup last longer?
To make your lip color last, use a lip liner to outline your lips, apply lipstick, and then set it with a bit of powder.
What are some good tips for practicing makeup drawing?
Practice daily, watch online tutorials for guidance, and join makeup groups to share your work and get feedback from others.