10 Creative Ways to Master Makeup Drawing Techniques
Share
If you're looking to step up your makeup drawing game, you’ve come to the right place. Whether you're a beginner or just want to refine your skills, there are plenty of creative ways to practice and enhance your makeup drawing techniques. From choosing the right materials to experimenting with different tools, this guide will help you explore ten fun methods to bring your makeup illustrations to life. Let’s get started!
Key Takeaways
- Experiment with different drawing papers to find what works best for you.
- Use a variety of pencils to achieve different effects in your makeup sketches.
- An eraser is essential for refining details and correcting mistakes.
- Soft pastels can add a vibrant touch to your drawings, perfect for blending colors.
- Makeup brushes aren't just for applying makeup; they can also be great for drawing techniques.
1. Drawing Paper

Okay, so you want to get into makeup drawing? Awesome! First things first, let's talk paper. It's not just any paper, trust me. The type of paper you use can seriously impact how your makeup drawings turn out. You wouldn't use printer paper for a watercolor painting, right? Same idea here.
Smooth paper is generally better for makeup drawings. Why? Because you want your pencils and pastels to glide easily, and rough paper can create unwanted texture. Think about the finish you want for your makeup look – usually smooth and blended, right? Your paper should reflect that.
Here's a few things to consider:
- Weight: Go for something that's at least 70lb (110gsm). Anything lighter and it might buckle or tear when you start layering colors. Heavier paper can handle more blending and erasing.
- Surface: As I mentioned, smooth is key. Bristol board is a great option, especially the smooth surface variety. It's sturdy and takes color really well. Another option is marker paper, which is designed to prevent bleeding and feathering.
- Color: White or off-white is usually best, so your colors show up accurately. But don't be afraid to experiment with toned paper for different effects! A light gray or cream can add depth and dimension to your drawings.
I remember when I first started, I just grabbed whatever paper I had lying around. Big mistake! My drawings looked muddy and the colors were all wrong. Once I switched to a good quality drawing paper, it made a world of difference. Seriously, don't skimp on the paper!
And if you're planning on using wet media like paint or markers, make sure your paper is designed for that. Watercolor paper or mixed media paper will be your best bet. Otherwise, you'll end up with a soggy mess. Nobody wants that!
So, to recap, here's a quick comparison:
| Paper Type | Weight (lb) | Surface | Best For |
|---|---|---|---|
| Bristol Board | 100+ | Smooth | Pencils, pastels, detailed work |
| Marker Paper | 70+ | Smooth | Markers, preventing bleed-through |
| Mixed Media | 90+ | Varies | Wet and dry media, versatile |
Choosing the right drawing paper is the first step to creating stunning makeup drawings. Happy drawing!
2. Pencil
Okay, so you've got your paper ready. Now, let's talk pencils. Not all pencils are created equal, especially when you're trying to capture the subtle nuances of makeup in a drawing. You'll want a range of pencils, from hard to soft, to achieve different effects. I usually grab a few different kinds before I even start.
- Hard pencils (like a 2H or 4H) are great for light sketching and creating fine lines. They don't smudge as easily, which is perfect for laying down the initial structure of your makeup design. Think of it as the blueprint.
- Medium pencils (like HB or 2B) are your workhorses. They're versatile and can be used for a variety of shading and outlining tasks. I use these for most of the general drawing.
- Soft pencils (like 4B or 6B) are where the magic happens. These are your shading champions. They create rich, dark tones and blend beautifully, allowing you to mimic the depth and texture of makeup. Just be careful, they smudge easily!
I find that using a mechanical pencil for really fine details, like eyeliner or individual eyelashes, can make a huge difference. The consistent lead width helps maintain precision, and you don't have to worry about sharpening it every five seconds. It's a small thing, but it really streamlines the process.
It's also a good idea to have a pencil sharpener handy. A dull pencil is your enemy. Keep those points sharp for crisp lines and controlled shading. Trust me, it makes a world of difference. And don't forget to experiment! Try different brands and types of pencils to see what works best for you and your style. There's no right or wrong answer, just what you prefer. I like to use Prismacolor pencils for my drawings.
3. Eraser
Okay, so you've got your drawing paper and pencils ready. Now, don't forget the unsung hero of makeup drawing: the eraser! I know, it sounds basic, but trust me, it's essential. We all make mistakes, especially when we're trying out new techniques or replicating a complicated look. That's where the eraser comes in to save the day.
A good eraser can be your best friend when you're trying to get those perfect lines and gradients.
I've tried a bunch of different erasers over the years, and here's what I've learned:
- Kneaded erasers are great for lifting color without damaging the paper. They're moldable, so you can get into small areas.
- Plastic erasers are good for more precise erasing. They leave less residue than some other types.
- Pencil erasers (the ones on the end of your drawing pencil) are okay for small corrections, but they can sometimes smudge.
Don't be afraid to experiment with different types of erasers to see what works best for you and your drawing style. It's all about finding the right tools that help you achieve the look you're going for. Plus, having a good eraser on hand can really boost your confidence when you're trying out something new.
Think of your eraser as a tool to refine your work. It's not just about fixing mistakes; it's about creating highlights, softening edges, and adding depth to your makeup drawings. You can even use it to create texture! For example, you can use a kneaded eraser to lift small amounts of pastel to create a stippled effect. It's all about experimenting and seeing what you can come up with.
4. Soft Pastels
Soft pastels are fantastic for makeup drawings because they blend so easily and offer a wide range of colors. I remember the first time I tried them; it was like painting with makeup itself! They're especially good for creating soft, diffused looks, like a smoky eye or a subtle blush. But be warned, they can be a bit messy, so keep a clean workspace.
- Experiment with layering: Start with lighter shades and gradually build up to darker ones. This gives depth to your drawing.
- Use a blending stump: This tool helps to smooth out the pastel and create seamless transitions between colors.
- Fix your work: Soft pastels can smudge easily, so use a fixative spray to protect your drawing.
I've found that using a slightly textured paper works best with soft pastels. The texture helps the pastel grip the surface, preventing it from sliding around too much. Also, don't be afraid to mix different brands of pastels. Some brands have a softer consistency than others, and combining them can give you a wider range of effects.
When working with soft pastels, it's important to have the right tools. A good set of drawing paper is essential, as is a variety of blending tools. And don't forget a good eraser for those inevitable mistakes. You can even use powder blush to add a touch of color to your drawings. Soft pastels are a great way to add depth and dimension to your makeup drawings, so give them a try!
5. Colored Pencils
Colored pencils are a fantastic way to add detail and vibrancy to your makeup drawings. They allow for a level of precision that's hard to achieve with other mediums. I find them especially useful for creating realistic skin tones and intricate eye makeup looks.
I've been experimenting with different brands, and it's amazing how much the quality varies. Some pencils are super creamy and blend easily, while others are harder and better for fine lines. It really depends on the effect you're going for. I've found that layering colors is key to getting a natural look. Start with lighter shades and gradually build up the darker tones. Don't be afraid to experiment with different color combinations to see what works best for you. You can even use a white gel pen to add highlights and make your drawings pop.
Here are a few things I've learned along the way:
- Invest in good quality pencils. They make a huge difference in the final result.
- Experiment with layering colors to create depth and dimension.
- Use a light hand to avoid creating harsh lines.
- Don't be afraid to mix and match different brands of pencils.
One thing I've noticed is that the type of paper you use can also affect the way colored pencils look. Smooth paper is great for blending, while textured paper can add a bit of grit and realism to your drawings. It's all about finding what works best for your style.
I've also found that using a blending stump or a Q-tip can help to soften the edges of your colored pencil lines and create a more seamless look. It's a great way to achieve a more polished and professional finish. Just be sure to use a light touch to avoid smudging the colors too much.
6. White Gel Pen
Okay, so a white gel pen might seem a little out of place when we're talking about makeup, but trust me on this one. It's a game-changer for adding those tiny, precise highlights that can really make your makeup drawings pop. I remember when I first started using one, I was amazed at how much dimension it added. It's not just for highlights, though; you can use it to correct small mistakes or create cool effects.
Here's the thing: not all white gel pens are created equal. Some are streaky, some are too thick, and some just don't show up well on certain papers. You'll want to experiment to find one that works for you. I've had good luck with the Sakura Gelly Roll, but there are tons of options out there. Don't be afraid to try a few different ones until you find your holy grail.
- Highlighting: Use it to add small highlights to the inner corner of the eye, the brow bone, or the cupid's bow.
- Correcting: Clean up edges or fix small mistakes with precision.
- Creating Effects: Add small details like stars or glitter for a unique look.
I find that using a light hand is key when working with a white gel pen. It's easy to overdo it, and you want the highlights to look natural, not like you've just slapped a bunch of white paint on your drawing. Start with a small amount and build up the intensity as needed.
One thing I've learned is that the type of paper you're using makes a big difference. On smoother papers, the gel pen tends to glide more easily, which can be great for creating fine lines. On more textured papers, you might need to apply a bit more pressure to get the ink to flow. Experiment with different drawing paper to see what works best for you.
Here's a quick comparison of different white gel pens:
| Pen Type | Pros | Cons |
|---|---|---|
| Sakura Gelly Roll | Smooth, opaque, widely available | Can be a bit thick for very fine details |
| Uni-ball Signo | Very fine lines, good for details | Can be less opaque than other options |
| Pentel EnerGel | Quick-drying, doesn't smudge easily | Not as widely available |
Another cool trick is to use the white gel pen to create a simple eye stencil. Draw the stencil on a piece of paper, cut it out, and then use the gel pen to trace the outline onto your drawing. This is a great way to create consistent shapes and add a bit of flair to your makeup designs. You can also use it to create a perfect winged liner effect. Just draw the wing with the gel pen and then fill it in with a darker color. It's a fun way to experiment and get creative with your makeup drawings. And if you mess up, don't worry! That's what erasers are for. Just grab your eraser and gently erase the mistake. It's all part of the process.
7. Q-Tips
Q-tips are surprisingly useful when you're trying to create makeup drawings. I never really thought about using them until I saw someone on social media doing it, and now I'm hooked. They're cheap, easy to find, and can really help you get those fine details right.
Q-tips are great for blending, smudging, and correcting small mistakes.
Here's how I use them:
- Blending edges of eyeshadow or pastel to create a softer look.
- Cleaning up eyeliner or lipstick mistakes without ruining the whole drawing.
- Creating subtle shading effects by gently smudging pencil or pastel.
I find that using Q-tips gives me more control than using my fingers, especially when I'm working on a small area. Plus, they're disposable, so cleanup is a breeze. I always keep a bunch on hand when I'm drawing makeup looks.
They can also be used to apply small amounts of product, like highlighter details or glitter, with precision.
8. Makeup Brushes
Using makeup brushes in your drawings? Absolutely! They're not just for your face; they can add a cool texture and effect to your artwork. I never thought about it until I saw someone use a fluffy brush to create a soft, diffused background in a portrait. It was genius!
- Blending Shadows: Use a fluffy brush to soften harsh lines.
- Creating Texture: Stipple with a stiff brush for a skin-like texture.
- Applying Pastel: A small brush can help apply pastel precisely.
I've found that old, cleaned makeup brushes work best. You don't want to ruin your good brushes with art supplies, trust me. Plus, the worn bristles often create more interesting effects.
Different brushes will give you different results, so experiment! Try using a fan brush to create hair strands or a small angled brush for precise lines. You can even use a spoolie brush to add texture. It's all about getting creative and seeing what works for you. I've even seen people use airbrush makeup kits to create a gradient effect. It's all about experimenting!
9. Blush
Blush can add a touch of realism to your makeup drawings. It's not just about adding color; it's about adding dimension and life to the face. Finding the right shade and application technique can really elevate your artwork.
The key is to apply blush sparingly and blend well. You don't want harsh lines or unnatural patches of color. Think about where the sun would naturally hit the face and mimic that effect with your blush application.
Here's a simple way to apply blush in your drawings:
- Start with a light pastel or colored pencil in a shade that complements your overall color scheme.
- Gently apply the color to the apples of the cheeks, blending outwards towards the temples.
- Use a Q-tip or blending stump to soften the edges and create a seamless transition.
Remember, less is often more when it comes to blush. You can always add more color, but it's much harder to take it away. Build up the intensity gradually until you achieve the desired effect. Consider using a creamy blush for a natural look.
Here's a table showing how different blush colors can affect the overall mood of your drawing:
| Blush Color | Effect |
|---|---|
| Pink | Youthful, sweet |
| Peach | Warm, healthy |
| Rose | Sophisticated |
| Mauve | Elegant, subtle |
Experiment with different shades and application techniques to find what works best for your style. Don't be afraid to try something new and push your creative boundaries. You can even use a powder blush for a different effect.
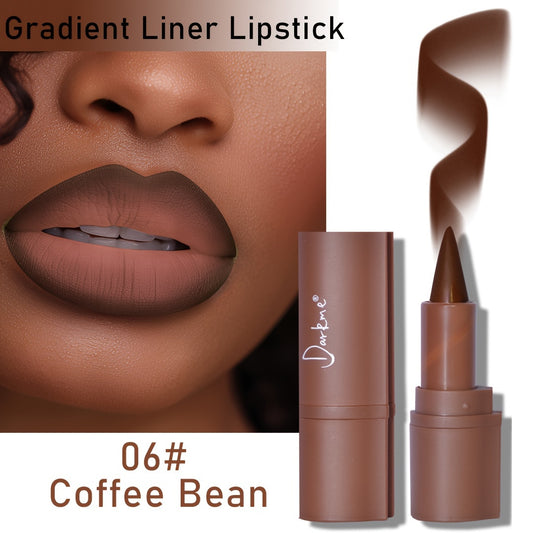
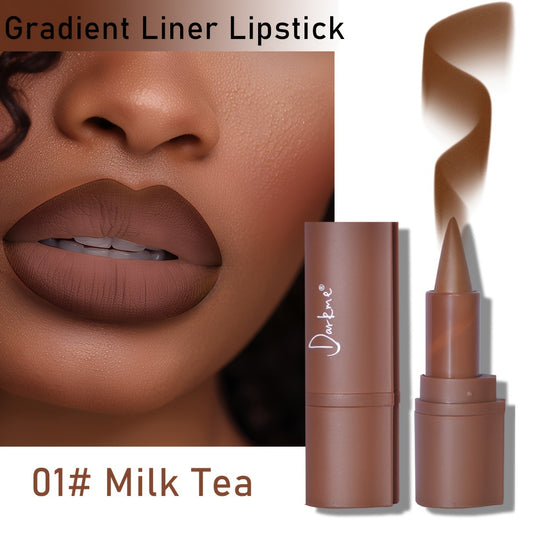
10. Lipstick
Okay, so you've made it to the final step! Using lipstick in your makeup drawings can add a real pop of color and dimension. It's not just about slapping on some red; there are a few tricks to make it look super realistic.
First off, think about the texture you want to achieve. Are you going for a matte look or something glossy? This will influence how you apply the color and any additional shading.
Here's a simple way to get started:
- Start by outlining the lips with a light pencil. This helps define the shape and prevents the lipstick color from bleeding.
- Fill in the lips with your chosen lipstick color. Remember to consider the light source and add highlights and shadows accordingly. A darker shade just below the lower lip can create the illusion of volume.
- For a matte effect, you can blot your lipstick with a tissue. This removes excess shine and creates a more subdued look.
Don't be afraid to experiment with different colors and techniques. Try layering different shades of lipstick to create unique effects, or use a white gel pen to add highlights and make the lips appear fuller.
And remember, practice makes perfect! The more you experiment with lipstick in your drawings, the better you'll become at capturing its nuances and creating stunning makeup looks.
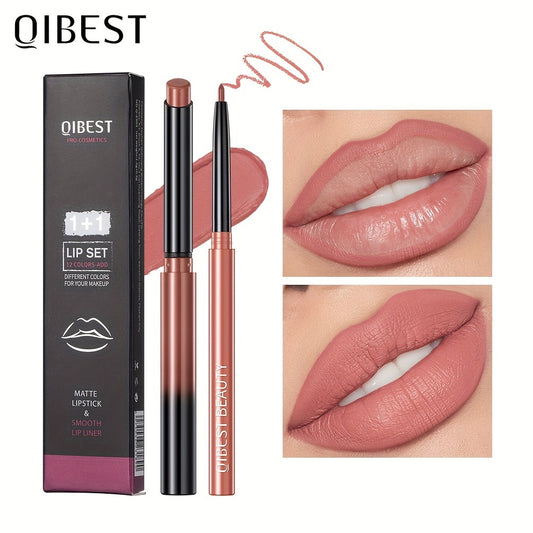
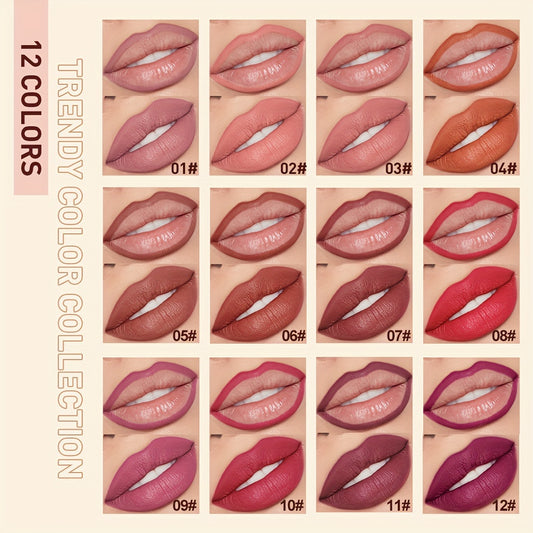
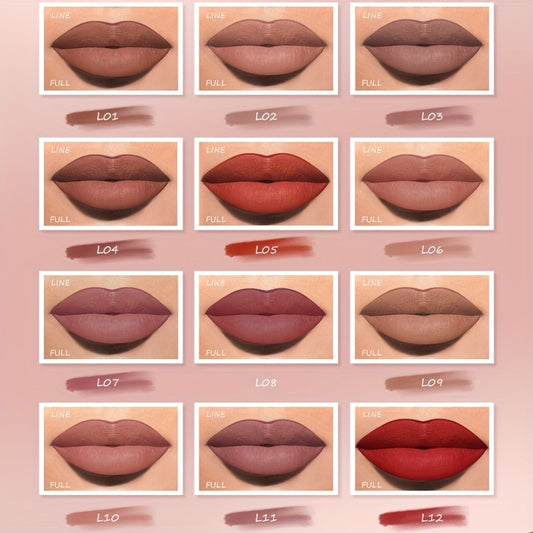
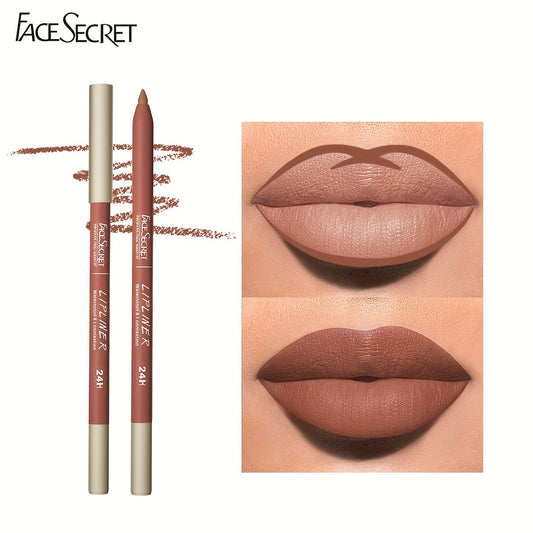
Lipstick is more than just a beauty product; it’s a way to express yourself! Whether you prefer bold reds or soft pinks, there’s a shade for everyone. Want to find the perfect lipstick for your style? Visit our website to explore our amazing collection and discover your new favorite shade today!
Wrapping It Up
So there you have it—ten fun and creative ways to get better at drawing makeup. Whether you're just starting out or looking to refine your skills, these tips can help you add some flair to your fashion illustrations. Remember, practice makes perfect. Don't stress if your first few attempts don't turn out exactly how you want. Just keep experimenting and trying new techniques. Before you know it, you'll be drawing makeup like a pro. Happy sketching!
Frequently Asked Questions
What materials do I need to start drawing makeup?
You will need drawing paper, pencils, erasers, soft pastels, colored pencils, and a white gel pen to create different effects.
How can I make my makeup drawings look more realistic?
To make your drawings look realistic, use shading techniques and blend colors well. Adding highlights with a white gel pen can also add depth.
Is it important to practice different makeup styles?
Yes, practicing different styles helps you improve your skills and discover what works best for your drawings.
Can I use regular pencils for makeup drawing?
Yes, regular pencils are fine, but softer pencils can provide smoother lines and easier blending.
What is the best way to apply blush in my drawings?
Use soft pastels or colored pencils to gently apply blush in circular motions, and remember that less is often more.
How can I add shine to lips in my drawings?
To make lips look shiny, use a darker shade below the lip line and blend it well. You can also add highlights with a white gel pen.

