Easy DIY Recipe for Lip Balm: Nourish Your Lips Naturally
Making your own lip balm is a simple way to keep your lips soft and hydrated, especially when the weather gets dry. Forget those store-bought options with ingredients you can't pronounce. This easy DIY recipe for lip balm lets you control exactly what goes onto your skin. It's a fun project, and the results are fantastic. Plus, you can whip up a batch in no time, and they make great little gifts!
Key Takeaways
- A basic recipe for lip balm often uses a 1:1:1 ratio of beeswax, butter, and oil for a good starting point.
- You can adjust the amount of beeswax to make your lip balm firmer or softer.
- Natural ingredients like coconut oil, shea butter, and beeswax are great for nourishing lips.
- Essential oils like peppermint or lavender add scent and soothing properties to your lip balm.
- Homemade lip balms are cost-effective, customizable, and make thoughtful gifts.
Gathering Your Lip Balm Ingredients
Getting started with making your own lip balm is pretty straightforward. You just need a few key things to get going. Think of it like baking a simple cake – you need the right ingredients to get the best results.
Essential Oils for Natural Lip Nourishment
Essential oils are where you can really personalize your lip balm. They add scent, and some even have properties that can help your lips. For example, peppermint can give a nice tingly feeling, while lavender is known for being calming. You don't need a lot, just a few drops can make a big difference. It’s a good idea to start with oils that are safe for skin and not too strong. Some popular choices include lavender, peppermint, and sweet orange. Just remember, these are concentrated, so a little goes a long way. Always do a small patch test if you're trying a new oil to make sure your skin likes it.
Choosing Your Base Oils and Butters
This is the heart of your lip balm. You need something to give it that smooth, moisturizing feel. Common choices are coconut oil and shea butter. Coconut oil is liquid at room temperature and really hydrating. Shea butter is thicker and adds a nice creaminess. You can also use things like cocoa butter or even almond oil. The combination you pick will affect how the balm feels and how it holds up, especially in different temperatures.
Here’s a quick look at some popular base ingredients:
| Ingredient | Texture Contribution | Moisturizing Properties |
|---|---|---|
| Coconut Oil | Soft, smooth | Very hydrating |
| Shea Butter | Creamy, rich | Deeply moisturizing |
| Beeswax | Firmness, structure | Creates a protective barrier |
| Cocoa Butter | Firm, slightly waxy | Rich, conditioning |
The Role of Beeswax in Your Recipe
Beeswax is what gives your lip balm its structure. Without it, you'd just have a greasy oil. Beeswax helps everything hold together, especially when it gets warm. It also creates a protective layer on your lips, which is great for keeping moisture in. You can buy beeswax in pellets, which are easy to measure and melt. The amount of beeswax you use will change how firm your balm is. More beeswax means a harder balm, less means a softer one.
Beeswax is a natural emulsifier and provides a protective barrier, helping to seal in moisture and shield your lips from the elements. It's the key ingredient that turns liquid oils into a solid balm.
Crafting Your Custom Recipe for Lip Balm
Alright, let's get down to making this lip balm. It's not complicated, but getting the mix just right is key to a balm that feels good and actually works. Think of it like baking – a little too much of one thing, and it can go sideways.
Understanding the 1:1:1 Ratio
Many simple lip balm recipes stick to a basic ratio of ingredients. A common starting point is one part beeswax, one part butter (like shea or cocoa), and one part oil (like coconut or almond). This gives you a good balance of firmness from the wax, creaminess from the butter, and moisturizing properties from the oil. It’s a solid foundation, and you can tweak it later.
Adjusting for Balm Firmness and Texture
So, what if your first batch is too hard, or maybe too soft? No worries, it’s all about adjusting those ratios. If you want a firmer balm, especially if you're using tins instead of tubes, you can add a bit more beeswax. On the flip side, if it feels too stiff and doesn't glide on smoothly, try adding a little more oil or butter next time. It’s a bit of trial and error, but you’ll find your sweet spot.
Here’s a quick guide:
- Too Hard? Reduce beeswax, increase oil/butter.
- Too Soft? Increase beeswax, reduce oil/butter.
- Too Oily? Increase beeswax or butter.
- Too Waxy? Increase oil or butter.
Incorporating Natural Tinting Agents
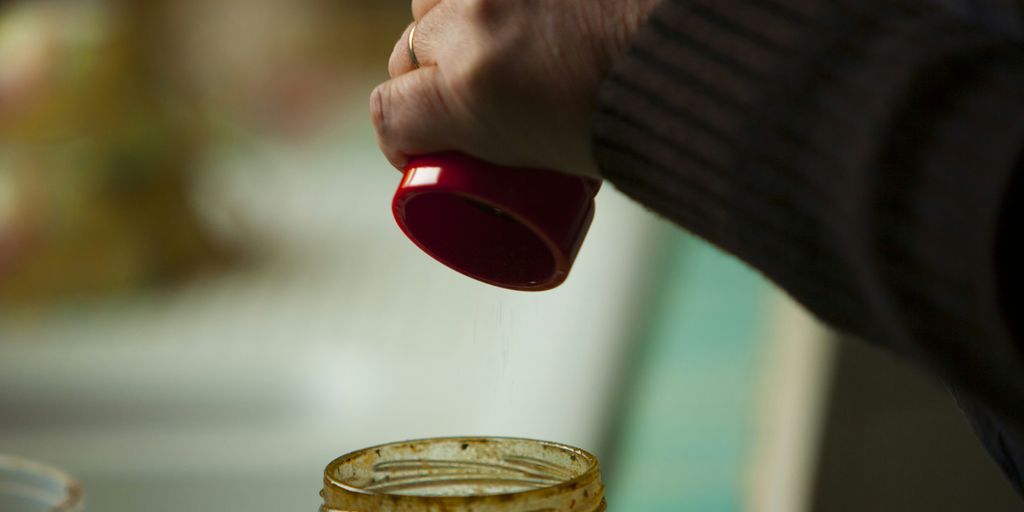
Want a little color? You can add natural tinting agents. Beetroot powder is great for a pinkish hue, and cocoa powder can give you a lovely brown tint. You only need a tiny amount, like a quarter teaspoon or less, mixed into your melted ingredients. Be careful, though, as some powders can make the balm a bit gritty if not fully incorporated. Start small and add more if needed. It’s a fun way to personalize your balm without any artificial stuff.
Remember, the goal is a smooth, spreadable balm that protects your lips. Don't be afraid to experiment a little with the amounts until you get it just how you like it.
The Melting and Mixing Process
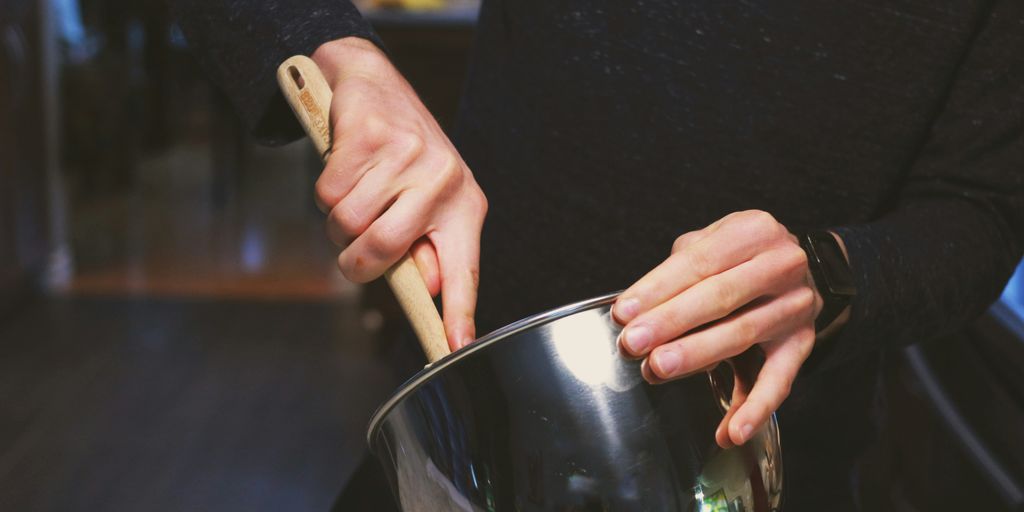
Now for the fun part – turning those solid ingredients into a smooth, luscious lip balm! This stage is all about gentle heat and careful combining. We're going to use a simple double boiler setup, which is just a fancy way of saying a heat-safe bowl sitting over a pot of simmering water. This method gives you control and prevents your precious oils from getting too hot and losing their goodness.
Creating a Simple Double Boiler
Don't have a fancy double boiler? No worries! You can easily make one. Grab a saucepan and fill it with a couple of inches of water. Then, find a heat-safe bowl (glass or metal works well) that fits snugly over the top of the saucepan without touching the water. This setup will gently warm your ingredients without direct, harsh heat.
Melting Ingredients Safely
Start by adding your beeswax, base oils, and butters to the bowl over your simmering water. Beeswax takes a little longer to melt, so give it some time. Stir occasionally with a wooden craft stick or a heat-resistant spatula. The goal is to melt everything smoothly, not to boil it. Once the beeswax is mostly melted, the other ingredients will join in pretty quickly. Keep an eye on it and stir until you have a clear, uniform liquid.
Adding Optional Enhancements
Once everything is melted and you've taken the bowl off the heat (but maybe keep it over the warm water for a bit), this is the perfect time to add any extras. If you're using essential oils for scent or added benefits, stir them in now. It's best to add them when the mixture has cooled slightly, so the delicate oils don't evaporate. A few drops are usually plenty! If you're adding natural colorants, give them a good stir to distribute evenly. Remember, the mixture will be quite hot, so handle with care.
Working with melted oils and waxes means spills can happen. It's a good idea to have some paper towels or old cloths handy to wipe up any drips as you go. This makes cleanup much easier later on.
Pouring and Cooling Your Homemade Balm
Alright, so you've got your lovely, melted mixture ready to go. This is where things get a little bit exciting, and also where you need to be a bit careful. Remember, this stuff is hot!
Filling Lip Balm Containers
This is the part where your lip balm starts to take its final form. You'll want to have your containers ready and waiting. Small tins or tubes work great. If you're using tubes, it's a good idea to have them standing upright. A little tray with holes, like the kind you might get in a kit, can be super helpful for this. It keeps them from tipping over.
- Work quickly: Once the mixture is off the heat, it starts to cool and thicken. You don't want it to get too solid before you pour it.
- Use a pipette or syringe: These are your best friends for getting the liquid into the small openings of your containers without making a big mess. A small funnel can also work, but pipettes give you more control.
- Fill to the brim (for tubes): If you're using tubes, fill them right up to the very top. As the balm cools, it tends to sink a little, creating a dip. Filling them full helps minimize this.
Be mindful that the melted oils and waxes are hot. Handle your pouring tools and containers with care to avoid burns.
Allowing for Proper Setting Time
Once everything is poured, the hardest part is waiting! You need to let your lip balm cool down completely so it can firm up properly. This usually doesn't take too long, maybe an hour or so, depending on how cool your room is.
- Find a stable spot: Place your filled containers somewhere they won't be disturbed. Keep them away from direct sunlight or heat sources, as this can affect how they set.
- Patience is key: Resist the urge to cap them or move them around too much while they're still warm. Let them cool naturally.
Troubleshooting Granules and Texture
Sometimes, despite your best efforts, your lip balm might end up a little grainy or bumpy. Don't worry, it happens! This is usually due to the ingredients cooling down too quickly or unevenly, causing some of the oils or butters to crystallize.
- Re-melt if necessary: If you notice a grainy texture after it's cooled, you can gently re-melt the batch and let it cool more slowly. Sometimes stirring it gently as it cools can help.
- Check your ratios: If this is a recurring problem, it might be worth double-checking your ingredient measurements. Sometimes a slight imbalance can affect the final texture.
- Cooling environment: Ensure the cooling environment is consistent. Avoid drafts or sudden temperature changes that can shock the mixture as it solidifies.
Storing and Enjoying Your Creation
So, you've successfully whipped up a batch of your very own lip balm! Now comes the fun part: keeping it safe and sound so you can enjoy those soft, nourished lips. It's not complicated, but a few simple things can make a big difference in how long your balm lasts and how well it performs.
Optimal Storage Conditions
Think of your homemade lip balm like a little pot of sunshine – it does best when kept in a cool, dry place. Direct sunlight or really warm spots, like the dashboard of your car on a hot day, can cause it to melt or change texture. A drawer, a cabinet, or even your makeup bag (if it's not too warm in there) are usually good spots. Keeping it away from excessive moisture is also a good idea to prevent any unwanted changes.
Understanding Shelf Life
Because you're using natural ingredients without artificial preservatives, your lip balm has a shelf life. Generally, if stored properly, it can last for about 1 to 2 years. Adding a bit of Vitamin E oil during the making process can help extend this a little further, acting as a natural antioxidant. You'll know it's time to make a new batch if you notice any changes in smell, color, or texture that seem off. Always trust your senses!
Creative Gifting Ideas
These little pots of goodness make fantastic gifts! Imagine presenting a friend with a set of custom-scented lip balms in cute little tins. You can even get creative with labeling – maybe a simple handwritten tag with the ingredients and scent. They're perfect for birthdays, holidays, or just as a thoughtful
Once you've finished making your creation, it's time to enjoy it! Keep your masterpiece safe and ready for use. For more tips on storing and enjoying your handmade items, visit our website today!
Your New Favorite Lip Care
So there you have it! Making your own lip balm is pretty straightforward, right? It’s a nice way to use simple ingredients to take care of your lips. Plus, you can totally tweak the recipe to get it just how you like it. Whether you're dealing with dry weather or just want something nice to have on hand, this DIY balm is a winner. It’s also a great little gift idea if you’re feeling crafty. Give it a try – your lips will probably thank you!
Frequently Asked Questions
Can I make lip balm without beeswax?
You can totally make lip balm without beeswax! Just use candelilla wax or carnauba wax instead. These are plant-based waxes, but use a little less since they can make the balm a bit firmer than beeswax.
Why is my homemade lip balm too hard or too soft?
The firmness of your lip balm really depends on how much wax you use compared to the oils and butters. If you want it firmer, add a bit more beeswax. For a softer, creamier feel, use less beeswax or a bit more oil.
Can I tint lip balm with food coloring?
It's best not to use food coloring because it's water-based and won't mix well with the oils and waxes. Instead, try natural powders like beetroot powder or hibiscus powder for a pretty color.
Why does my balm have tiny granules?
Those tiny granules usually happen when cocoa butter or shea butter cools down in a certain way. To avoid this, try cooling your lip balm quickly in the fridge, or you can 'temper' the butter before you start mixing.
What essential oils are safe for lips?
Gentle essential oils like lavender, sweet orange, or peppermint are great choices for lips. Just be careful with spicy oils like cinnamon; if you use them, make sure they are super diluted.
When should I use my DIY lip balm?
You can use your homemade lip balm whenever your lips feel dry or need some extra moisture. Many people like to apply it in the morning, before bed, or even under lipstick for a smoother look.